We finally got around to actually turning our tree house into the TARDIS!!!!!! It took much longer than expected. We started on the 4th of July and we finished on the 8th (5 days), but we persevered and finished it! I will describe our work throughout the 5 days.
July 4th 2011: We started off the day by going to Lowe's, and buying wood to add the bottom layer to the tree house. We managed to do it pretty low budget by buying the scrap plywood on the side of the building. We got approximately 10 full sheets (along with a bunch of other half or quarter scrap sheets) for only 35 dollars. The only problem with this wood was that, because it was scrap, most of the sheets began warping in the sun or were very flimsy. Fortunately there were about 5 good sheets (which was exactly what we needed) that we could use. We posted the rest of the scrap wood on craigslist for free and somebody called and picked it up within an hour!! So if you ever need to get rid of any extra wood, craigslist is the place to go!
Next we began measuring and cutting the wood for the bottom layer of the treehouse. The only challenge was getting the wood to fit around the giant branches, but with a little bit of measuring we got the wood to fit nicely. I did most of the measuring, but my dad did most of the sawing due to safety concerns. My brother and sister came out and helped along with my friend Bridget. By the end of the day we managed to put up two sides and the floor. Pretty good progress for the first day!
 |
| (from left): Roland (brother), Me, Elizabeth (sister), Bridget |
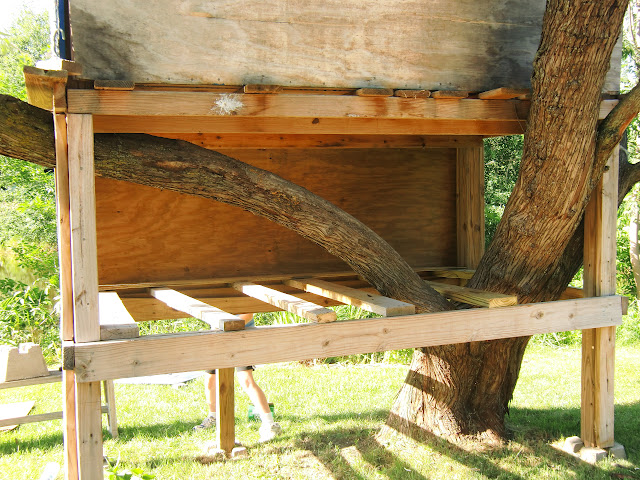 |
| One side of the tree house finished |
 |
| My dad and I adding in the floor |
 |
| Two sides of the bottom layer completed |
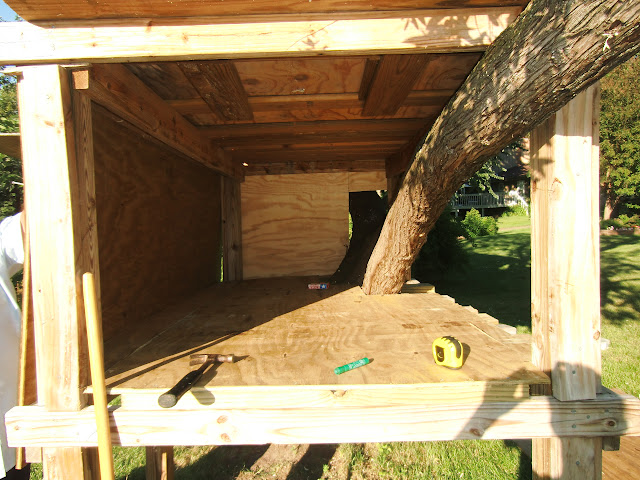
July 5th 2011: On the second day, my friends Bridget and Bojana came over, and we spent most of the day adding the other two walls, and adding a small piece to the floor because the original board wasn't long enough. After we finished building the second layer, we had to decide on a paint color. We printed off some pictures of the TARDIS, and then drove to Lowe's to match the color and buy some paint. Unfortunately, when we got there, we realized that we didn't bring the pictures with us, and therefore we couldn't be sure which color was right. We really wanted to find the perfect color, so we took every blue paint square we could find and brought them home (we also bought a hinge for the door, so the trip wasn't a complete waste). After an hour of deliberation, we finally decided on the Eddie Bauer valspar color named "harbor". Once my mom got home, she drove us back to Lowe's so we could buy the paint. We bought one gallon of "harbor" and one quart of white so that we could mix it with the "harbor" to add shading to the squares of the TARDIS.
 |
| That's me...measuring |
 |
| Bridget and I are fixing the gap in the floor |
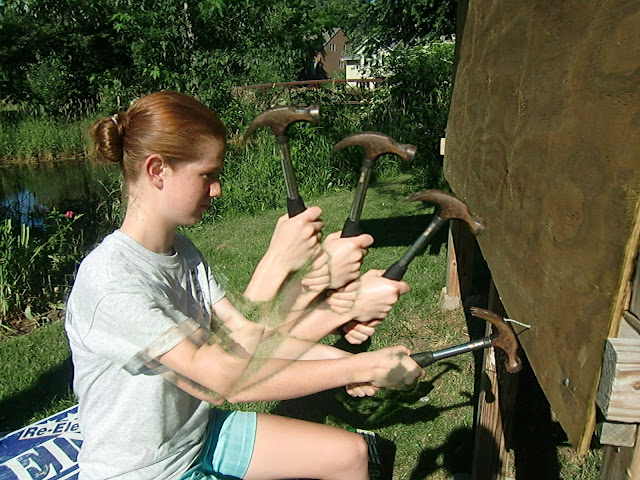 |
| Elizbeth (sister) hammering |
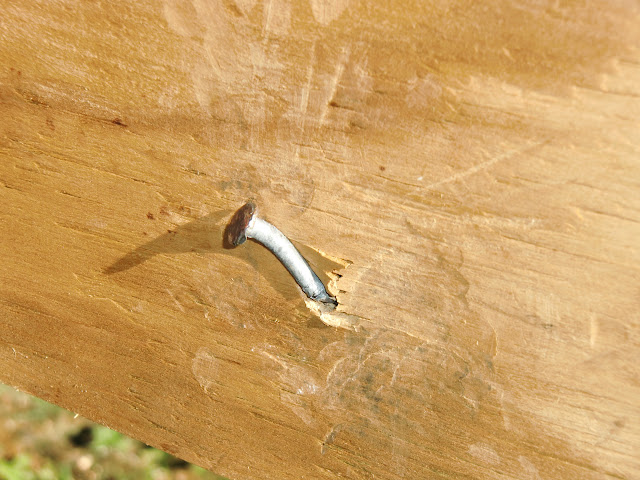 |
| we figured out how to hammer a nail eventually :P |
 |
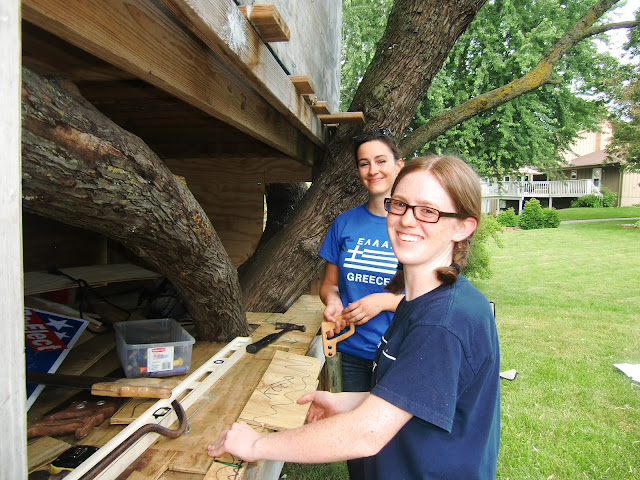
| (from left): Bridget, Roland, Bojana, Elizabeth, Kate |
July 6th 2011: On Wednesday, we spend the morning painting the tree house "harbor". We also insalled the hinge on the front door. The painting didn't take very long at all because my friends Bojana and Lesley came over and helped along with my brother and sister. After we finished painting the tree house with the base color (we used up the entire gallon), we stopped for the day and went swimming!
 |
| base color "harbor" completed |
 |
| painted and door now has a hinge |
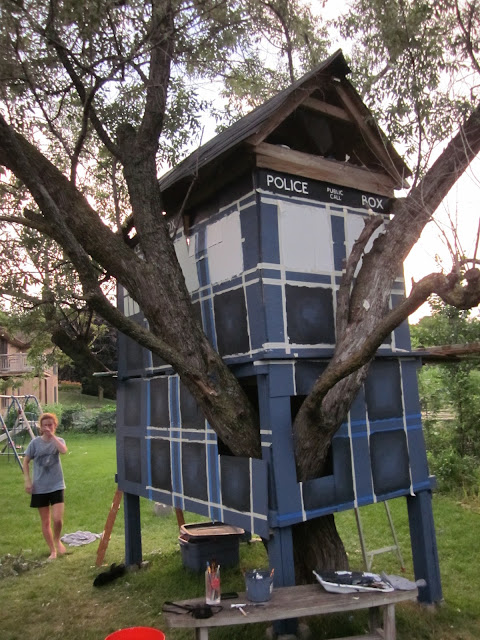
July 7th 2011: This was the most difficult and boring day of the process, because we had to measure all of the sides to put up tape so that our lines were straight when we painted on the details. My friend Bridget came over again and so did some of my sisters friends. We began the day with the expectation of painting on all of the details of the TARIDS. I went early with my dad to go buy another gallon of "harbor" and a quart of black for shading, but we didn't realize how long taping took. We ended up spending at least 6 hours taping. To begin, we had to measure each side to figure out how to divide it into the indented squares in both the vertical and horizontal directions. We ended up making the squares 14 inches wide and 16 inches tall with 8 inches in between them horizontally, and 4 inches in between them vertically. We also left 5 inches on the top to write "police public call box". This took forever because we had to have one person hold the measuring tape while the other person made the mark, and it was mostly me and Bridget who did this because nobody else wanted to stand up on the higher ledges of the upper level. Another factor we had to take into account was the fact that the plywood on the top layer and the plywood on the bottom layer didn't line up exactly, so we had to adjust our measurements so that the indented squares would line up when comparing the top and bottom levels of the tree house.
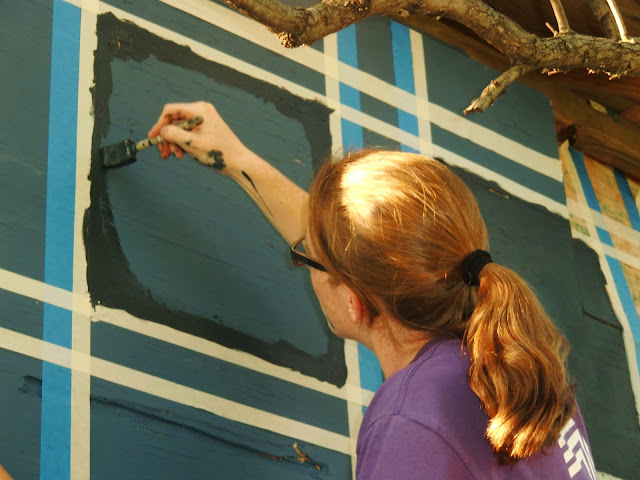
By the end of the day, we only had the two longs sides taped. Instead of moving on to the other sides, we decided to paint the indented squares that we had already taped, because we were afraid the tape might fall or blow off overnight (the tape wasn't very sticky, and it had been peeling off a little while we were working). To paint the indented squares, we used the black and harbor color to create a very dark blue for the outline of the squares, and then we made a slightly less dark blue to use to fade from the very dark to "harbor".
Halfway through this process our neighbor came over and complemented us on our new outhouse....hahaha! He was kidding of course, but when we told him it was from doctor who, he said had no idea what that was! Although, I guess Doctor Who isn't as popular in the U.S., as it is in the UK. I wonder how many of our neighbors will actually understand what it is? I'm sure that the giant police box in the middle of our back yard is going to be a mystery to most of them.
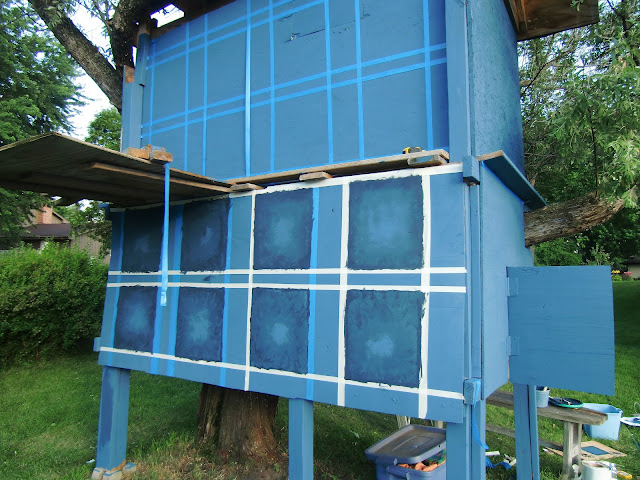 |
| taped on two sides and we started painting the indented panel (the color in this picture is a bit off . The ones farther down are more accurate) |
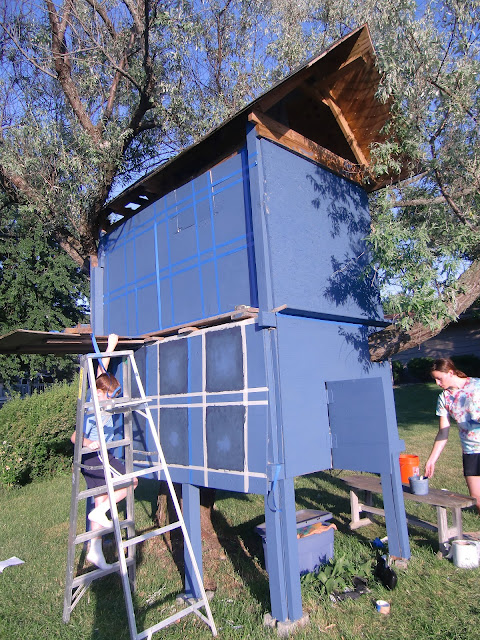 |
| two sides taped and painted |
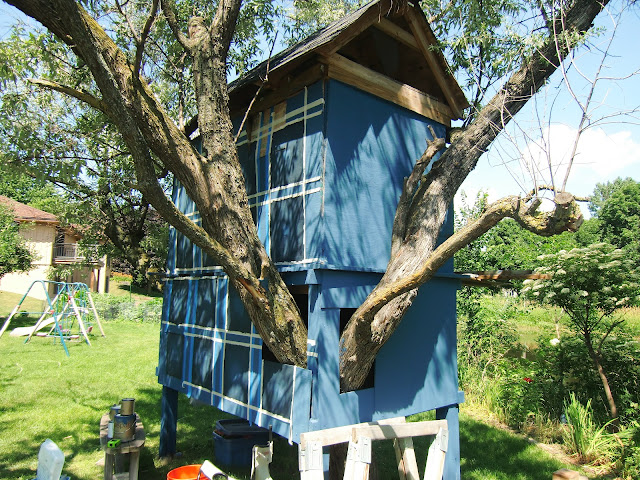 |
| two sides taped and painted |
July 8th 2011: This was the final day of painting. My friend Bridget came over again, along with my sister and her friends, who helped a lot more this time. We started by taping the squares for the two shorter sides. After we taped those my sister's friends started painting them to try to make them look a little indented. They are quite a bit more artistic than I, and the square I had painted the day before were labeled "Emily squares" and painted again :P. The top row of squares that we taped are actually supposed to be windows, so I measured the windows and divided each one into 6 panels with an inch in between horizontally and vertically. Once that was taped, we all worked to paint them white.
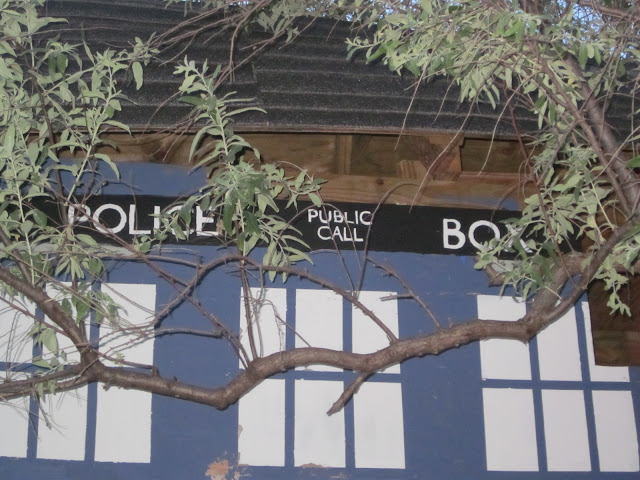
The last part of the project was to add the "police public call box" to the border of black around the top. I found the TARDIS font online
http://www.fontstock.net/10483/London-Tube.html and we used it to make stencils. I printed out POLICE BOX in 300 sized font on word and PUBLIC CALL (center spaced) in 130 sized font. I found some thin cardboard and poster board in the basement and we taped the print outs onto them. We used box cutters to cut out the letters (we had to remember to save the middle pieces for the O's, P's, and B's for when we painted).We taped them up to the black border of the TARDIS and used brushes to paint the letters in white. We started off using big brushes to paint the letters but the paint seeped behind the stencils so we switched to really small brushes, and then used black and white paint to put on the final touches to the letters.
 |
| Me, painting one of the indented squares |
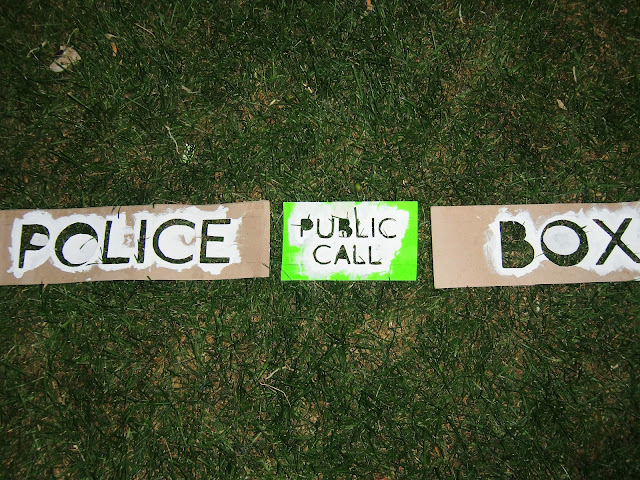 |
| These are the stencils we used |
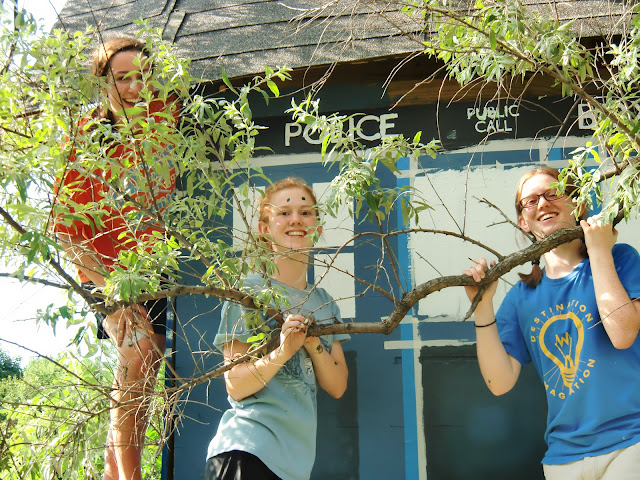 |
(from left): Bridget, Elizabeth and Me, painting
"police public call box" |
 |
Bridget adding some final touches to the
"police public call box" letters |
 |
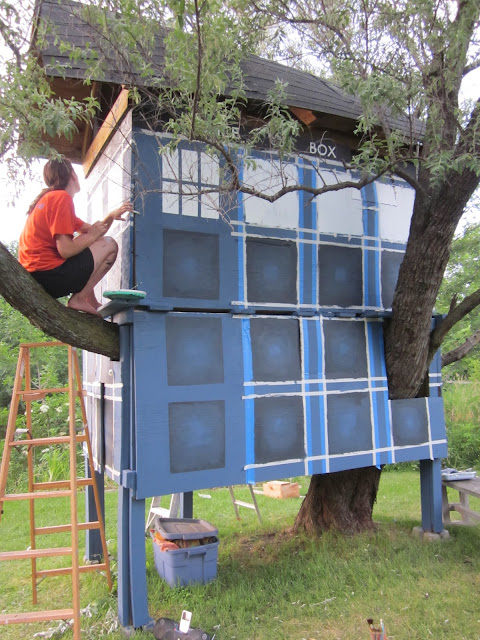
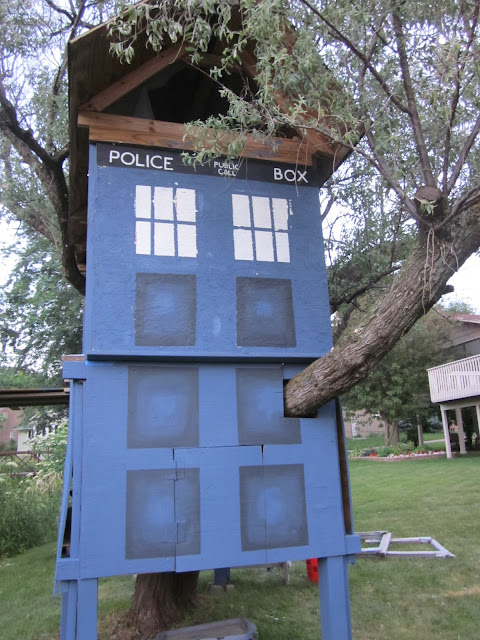
| TARDIS Taped and painted (note: its not actually leaning, its just the way I took the picture) |
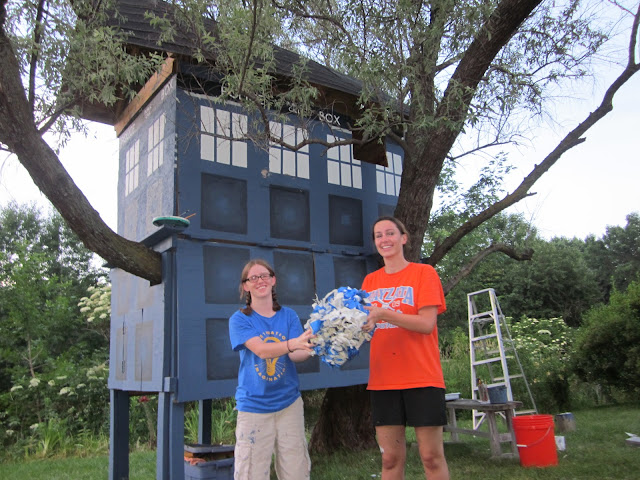 |
The Grand Unveiling of the TARDIS!!
(we took off the tape...there was a lot) |
 |
| windows and "police public call box" |
 |
| The TARDIS |
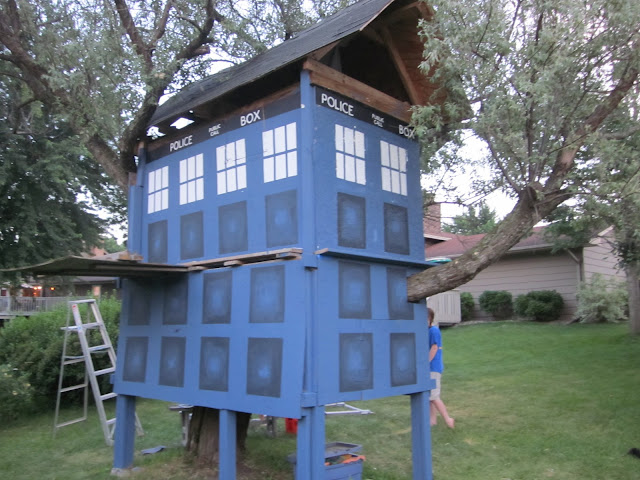 |
| The TARDIS |
 |
| The TARDIS |
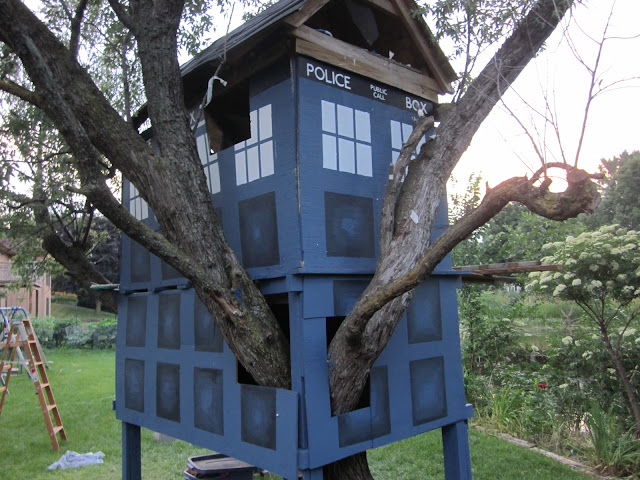 |
| This is my favorite picture of the TARDIS. |
Overall, this was a great project. I'm really excited about having a TARDIS in our backyard!!! It was really fun to make and it was worth all of the effort.
Also, I googled TARDIS tree house, and nothing came up in the image or the web search, so I guess we are the first!!!
On a less important note, we also bought some flashing to hopefully keep out the rain and the bugs. We'll probably install it whenever my brother feels like camping out in it one night.
If you want to see more pictures just follow this link
https://picasaweb.google.com/101290336277994146894/TARDISTreehouse?authuser=0&authkey=Gv1sRgCKKfjbnW39bnugE&feat=directlink
If you have any questions you can email me at ejhannigan@gmail.com


